Over the years I have picked up a few hints and tips for photographing mushrooms and other fungi so I thought I would share some quick and easy ones with youDiscover the Wild
Photographing Fungi
The ‘pretty’ shot.
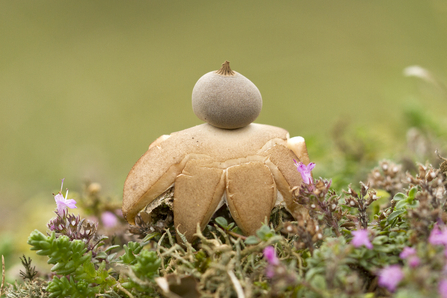
Whilst we could spend hours discussing the pros and cons of different cameras, there are a few techniques that improve your images no matter what you are using. The first is pretty straight forward, get at the specimen’s level - looking down on a cap can be interesting, but it does not show off the whole specimen. By getting low, even laying on the floor, you get a much more intimate perspective which can create a different feel to the image. If you take something to lay on you can keep dry whilst doing it too.

Dwarf Earthstar (c) David Winnard
‘And there was light’
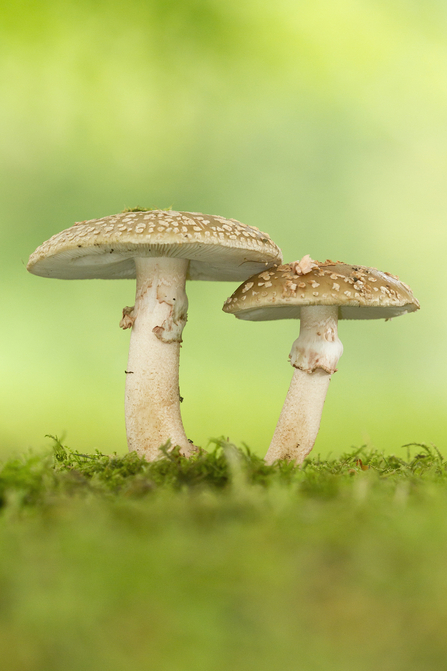
The second thing to bear in mind is that mushrooms cast their own shadows. They are basically umbrellas and the underside can be very dark whilst the top of the caps can be in bright light. You can buy expensive flash and lighting equipment but I have found that a simple kitchen item can light the underside of mushrooms really well and costs a few pennies to use. Foil. That’s right, a few pieces of foil just out of shot angled to bounce light under the mushroom can make the image really pop. Foil can be bent and moulded to get the right angles too, folds away in your pocket and you can get silver foil for a more natural glow or gold foil to give the image warmth.

Blusher (c) David Winnard
Persistence Makes Perfect
The hardest part to get pretty shots of mushrooms can actually just be finding specimens that are not slug eaten or nibbled by most things in the woodland. I find parks, cemeteries, golf courses and larger gardens great places to find perfect specimens. Where you get islands of trees surrounded by lots of grass (in a cemetery or golf course for example), then you find that slugs will be less likely to cross the larger expanses of grass, so the mushrooms growing with the trees are usually in really good condition. This does not mean you can’t find wonderful specimens in the woodlands, but my ‘hit rate’ for photographing is certainly lower in woodlands than ‘parkland’. In a woodland everyone and everything usually ends up eating the fungi - including other fungi!
These three simple tips are ok for taking ‘pretty’ pictures, but what about taking pictures so you can identify them back at home?

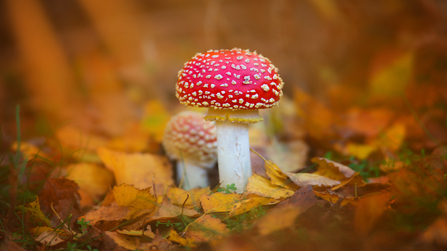
Fly agaric © Jon Hawkins - Surrey Hills Photography
The ID shot.
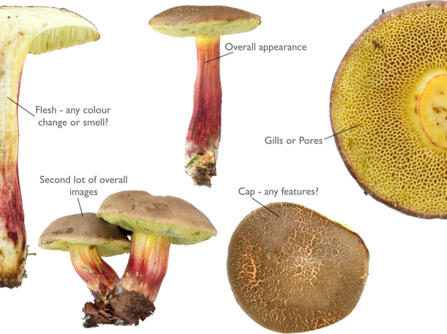
When identifying fungi, we need to see the whole specimen as every feature is important. So, I often carry around a white piece of card to photograph specimens on (this way I can compare them to other species I have photographed but you can just lay them on the ground), the cap is important, but you also need a profile shot, a shot showing the gills, sometimes the flesh so what it looks like in half is important too. Just taking a picture of the cap from above is like taking a picture of the top of someone’s head and asking who is that. The more details the better. On top of the different angles make a note of the habitat and trees nearby and also other features like does it have any distinctive smell. All these together will help you identify your finds later on.
But the main thing to remember is just to enjoy yourself, the main mushroom season is happening right now so get out and just enjoy these fascinating fruiting bodies while you can.

Id shots of Red-cracking Bolete (c) David Winnard
